
Seeds of Change: Saving Your Own Seeds for Next Year's Garden
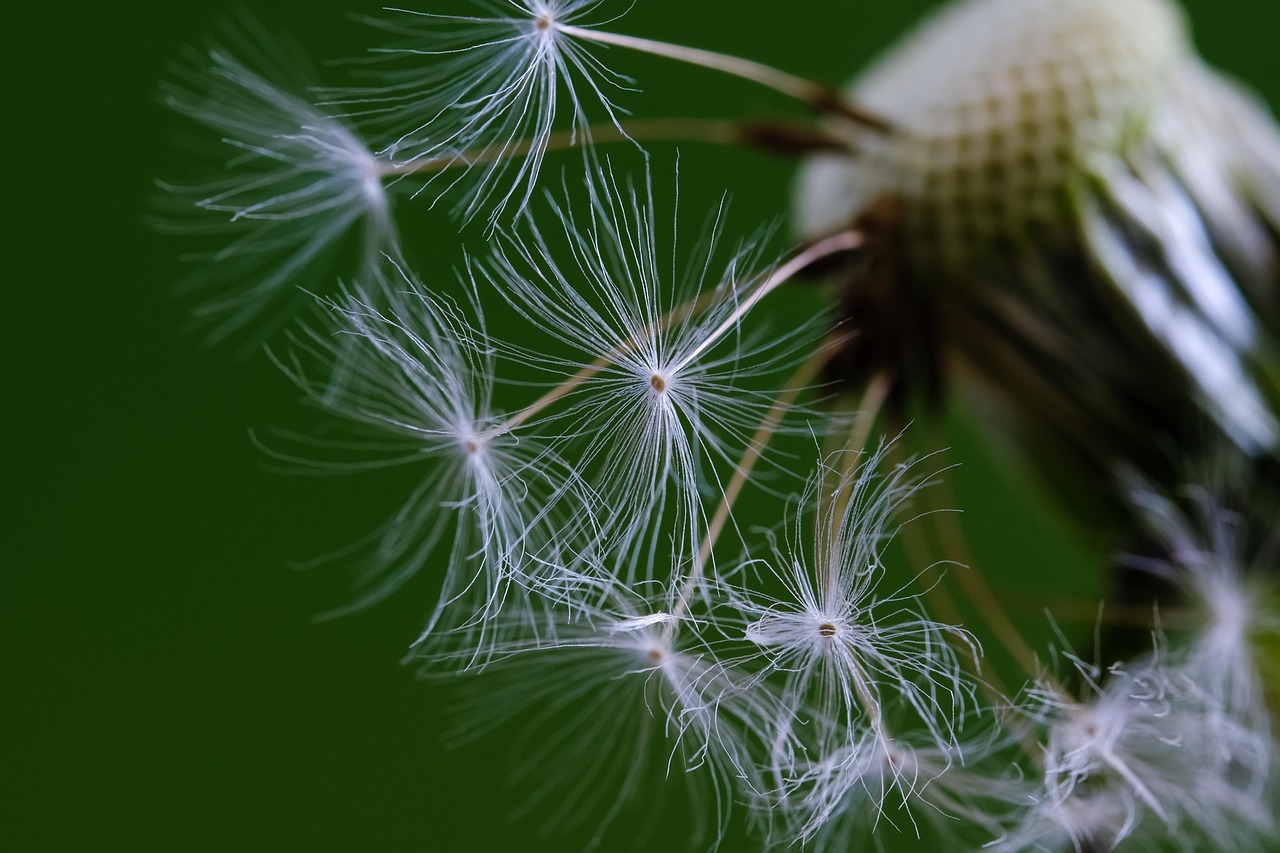
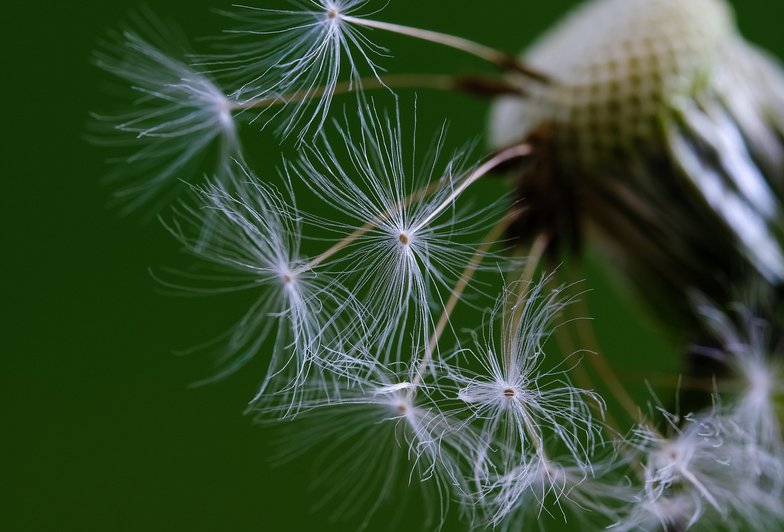
Every autumn, as the garden winds down and the seed heads turn brown, there is a quiet opportunity sitting right in front of you. Those dried pods and fluffy tufts contain the next generation of your garden, and with a little patience you can collect them, store them, and sow them again next spring. Saving seeds is one of the oldest gardening skills, and it is also one of the most rewarding. It costs nothing, it connects you to the rhythm of the seasons, and it produces plants that are increasingly well suited to your particular patch of ground.
The basic idea is simple. Let a few of your healthiest plants go to seed instead of deadheading them. Wait until the seeds are fully mature, which usually means the pod has dried and turned brown or the flower head has gone crisp. Then collect, dry, label, and store. The details matter, but the learning curve is gentle, and even a beginner can save seeds from easy plants like marigolds, sunflowers, and beans in the first year.
Which Plants to Save and Which to Skip
Not all seeds are worth saving. Hybrid varieties, which are often labeled F1 on the packet, will not come true from seed. Their offspring may be wildly different from the parent, sometimes better and sometimes worse. If you want predictable results, stick to open-pollinated or heirloom varieties. These have been selected over generations to produce consistent offspring, and they are the backbone of any seed-saving effort.
Annuals are the easiest place to start. Marigolds, zinnias, cosmos, calendula, and poppies all produce generous amounts of seed and are forgiving of clumsy handling. Biennials like foxgloves and hollyhocks take two years to flower, but once they do, they seed abundantly. Perennials such as coneflower, rudbeckia, and aster can also be saved, though they may take longer to bloom from seed than annuals do.
Beans, peas, and tomatoes are the classic vegetable seeds to save, and they are wonderfully straightforward. Let the pods dry on the vine for beans and peas, then shell them and store the seeds in a cool, dry place. Tomatoes are a little messier. Scoop the seeds and their surrounding gel into a jar, add a little water, and let them ferment for a few days. The gel breaks down, the viable seeds sink, and the rest can be rinsed away. Spread the good seeds on a plate to dry completely before storing.
Drying, Labeling, and Storing Without Tears
Moisture is the enemy of stored seed. Whatever you collect, let it air-dry in a single layer on a screen or a paper plate for a week or two. Do not use a paper towel, since the seeds may stick to it. Once the seeds are bone dry, they are ready for storage. A glass jar with a tight-fitting lid works well, as does a paper envelope tucked inside a plastic box. The key is to keep moisture out and to label everything clearly.
Labeling is the step most gardeners skip, and it is the one they regret. Write the plant name, the variety if you know it, and the date you collected the seed. A strip of masking tape on the jar works fine. Store your seeds in a cool, dark, dry place. A closet shelf or a basement cupboard is ideal. Avoid the garage, where temperature swings can damage the seeds, and avoid the refrigerator unless the seeds are in a sealed container, since the humidity inside a fridge fluctuates.
Most seeds will stay viable for two to five years, though some, like parsnips and onions, lose vigor quickly. Test a few seeds each spring by placing them between damp paper towels. If they sprout within a week, they are ready to plant. If not, sow them thickly or start fresh.
Seed saving is a small rebellion against the seed catalog, and it is a way of letting your garden write its own story. Start with one easy flower this year. Next year, you will have more seeds than you know what to do with, and a few to share with a neighbor.



A handful of dried seeds is a small act of independence, and it costs almost nothing to learn.
Turn a patch of boring lawn into a buzzing meadow of color with these low-effort, high-reward tips.
Keep bees, butterflies, and hummingbirds happy from spring to frost with these hardworking blooms.
Grow your own bouquets with these simple strategies for a productive and beautiful cutting garden.
No yard? No problem. Pots and planters can deliver a season of blooms on a balcony, patio, or doorstep.